Join 30k+ business owners every Sunday at 5pm for actionable automation tips to kickstart your week.
AVERAGE READ TIME
4 Minutes
Written by
POST PUBLISH DATE
How to Add the Shop to Your X (Twitter) Profile
Key Takeaways for Adding Shop to X Profile
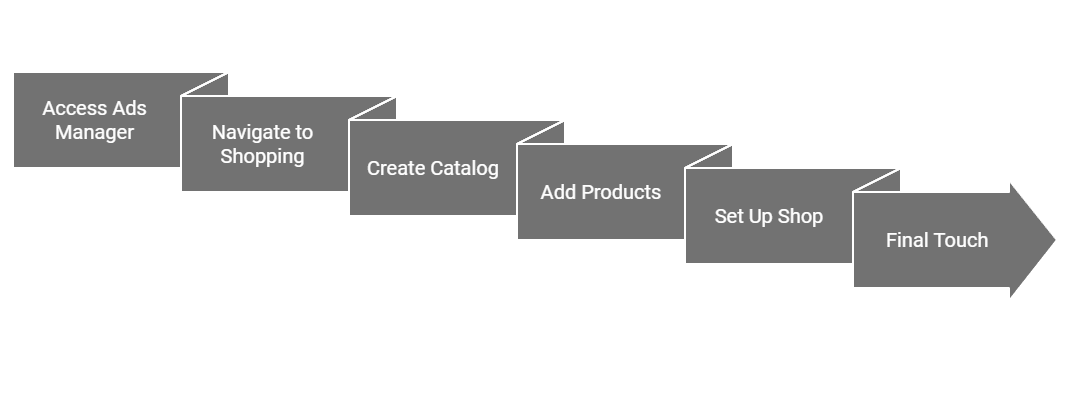
- Start in Ads Manager: Access through "More" > "Ads" and create an account if needed - this is your gateway to setting up shop features.
- Use Shopping Manager: Navigate to Tools > Shopping Manager to create your product catalog - this is where all your products will live.
- Add Products: Manually Input product details carefully, including name, description, price, and images (PNG/JPEG format) - keep prices at zero if under 100k followers.
- Build Your Shop Set up your shop layout, create product sets, and arrange items as desired - this determines how customers see your offerings.
- Enable Shop Spotlight: Complete the process by publishing both your shop and Shop Spotlight, ensuring visibility at the top of your profile.
Hey there! In this guide, I'll be showing you how to add shop links to the top of your profile. This is where we're getting most of our clicks, so it's really important to set it up correctly.
Step # 1: Access Ads Manager
Once you're ready to begin, you'll need to access the ads manager. Here's how:
- Click on "More."
- Click on "Ads."
- If you're new, create an ad account and make a dummy ad (you can pause it after)
Step # 2: Navigate to Shopping.
From the ads manager, you'll need to get to the shopping section:
- Click on "Tools."
- Select "Shopping Manager"
- Give it a name (your business name)
- Click "Create Catalog"
Step # 3: Add Your Products.
When adding products, you have options. If you're in e-commerce, you can download the X add plugin to your Shopify store, and it'll add the products for you. Otherwise, here's the manual process:
- Choose "Manual Add"
- Name your product (use TWW for Twitter + product name)
- Copy and paste the description from your website
- Set availability to "In Stock"
- Mark the condition as "New."
- Add your landing page link
- Set price (keep at zero if under 100,000 followers)
- Add image link (must be PNG or JPEG)
- Enter your brand name
- Hit "Add Product"
Step 4: Set Up Your Shop
Your product has been created successfully. Now it's time to build out the shop:
- Go to "Shop"
- Click "Build Shop"
- Agree and continue
- Hit "Setup"
- Name your shop
- Add description
- Create product set
- Arrange products using drag-and-drop
- Select your product set
- Click "Publish"
Step 5: Final Touch
You're not done yet - there's one final step to make your shop visible:
- Go to Shop Spotlight
- Select the same products
- Click "Publish"
You'll see your products at the top of your profile page. If you have multiple products, you can add as many as you want and arrange them using the drag-and-drop feature.
Pro Tip: If you're running an e-commerce store, you can use the X add plugin with your Shopify store to add products automatically.
That's it! Your shop is now ready to start getting clicks right from your profile.

THE AUTOMATION
NEWSLETTER
Join 30k+ business owners every Sunday at 5pm for actionable automation tips to kickstart your week.
